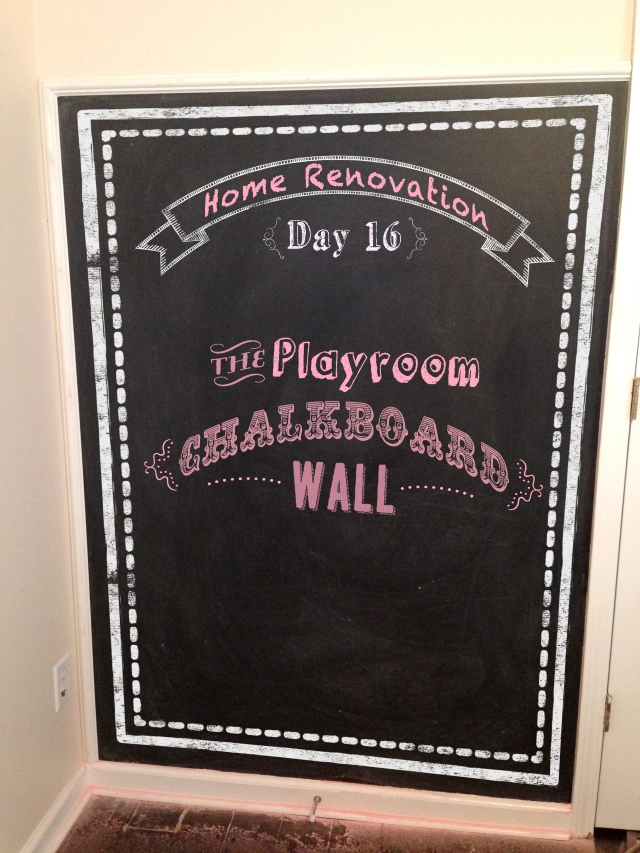
For day 16, I want to show you a chalkboard wall I created in a corner of our playroom. I know Olivia is only 3 months old, but who doesn’t love chalkboards?

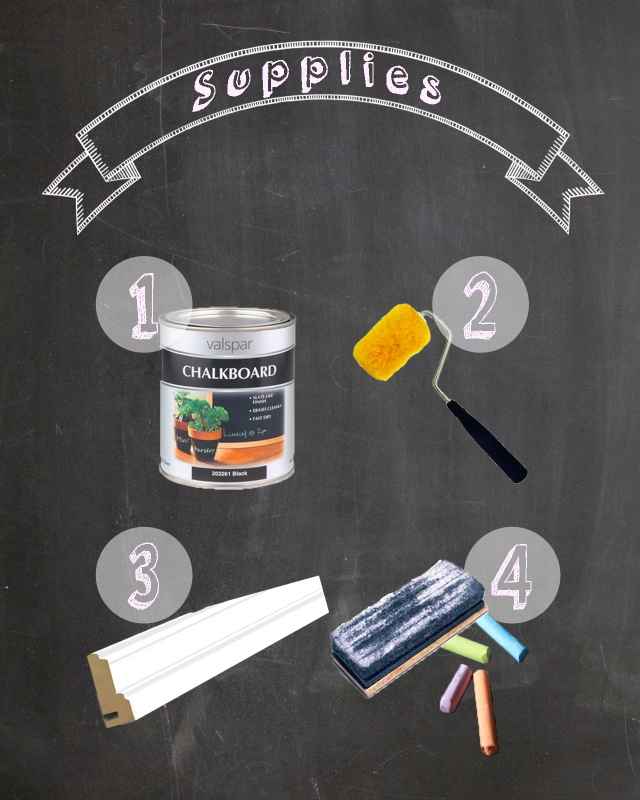
Project cost= $30 Supplies: 1) chalkboard paint 2) roller 3) molding 4) chalk and eraser
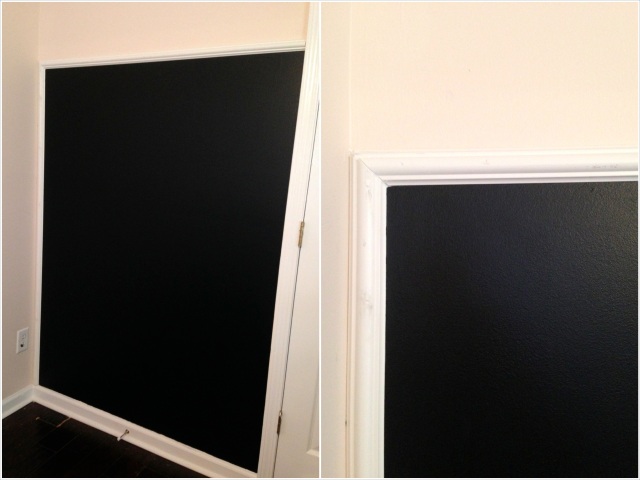
First, I taped off the area I wanted to cover with the chalkboard paint. I then rolled three coats of Valspars Black Chalkboard Paint onto the wall. Each layer looks like it dries fast but the can said to wait 24 hours before reapplying. After all layers were dry, Jamie framed in the area with some white molding we picked up at Lowes.
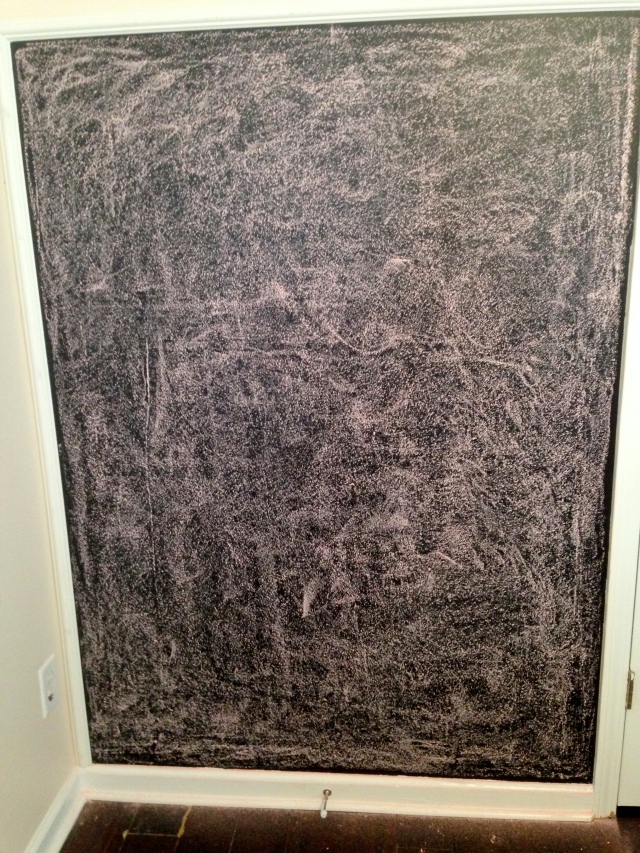
It is recommended to wait three days before using any chalk on it. To prime the chalkboard, you lay a piece of chalk on its side and liberally cover the entire board with it.
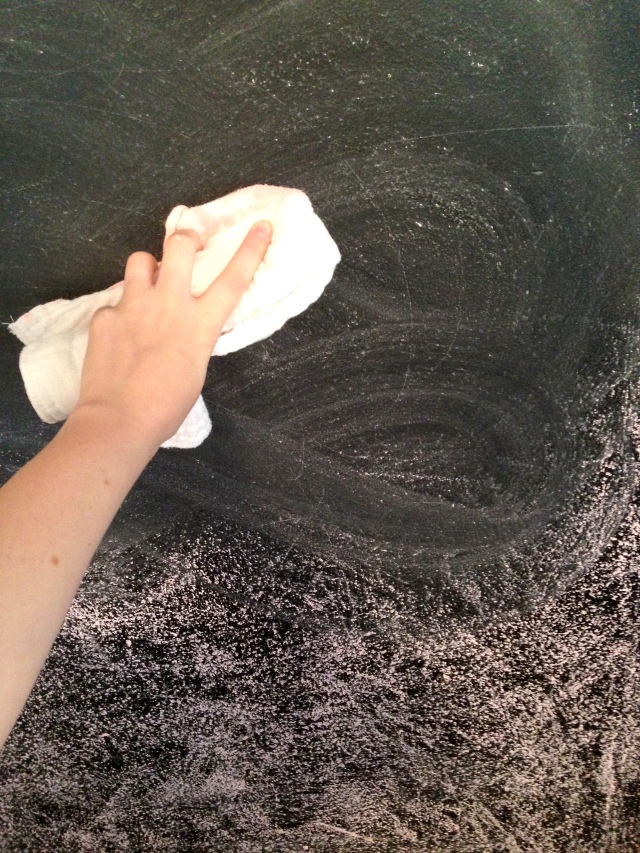
Rub it in with a dry rag and then erase. Chalkboards are porous, so if you don’t prime it you are at risk for your first drawing to be there permanently. If you prime the whole thing, all the little pores will get filled with the primer chalk and your future drawings will go on nicely, and erase easily.
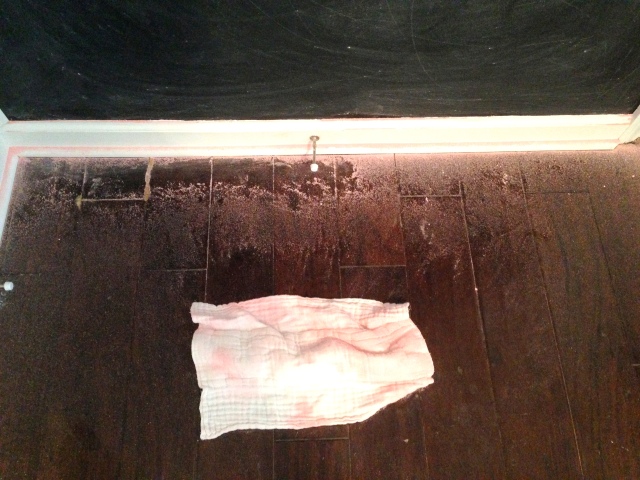
This is a very messy process so be ready with the vacuum!!!
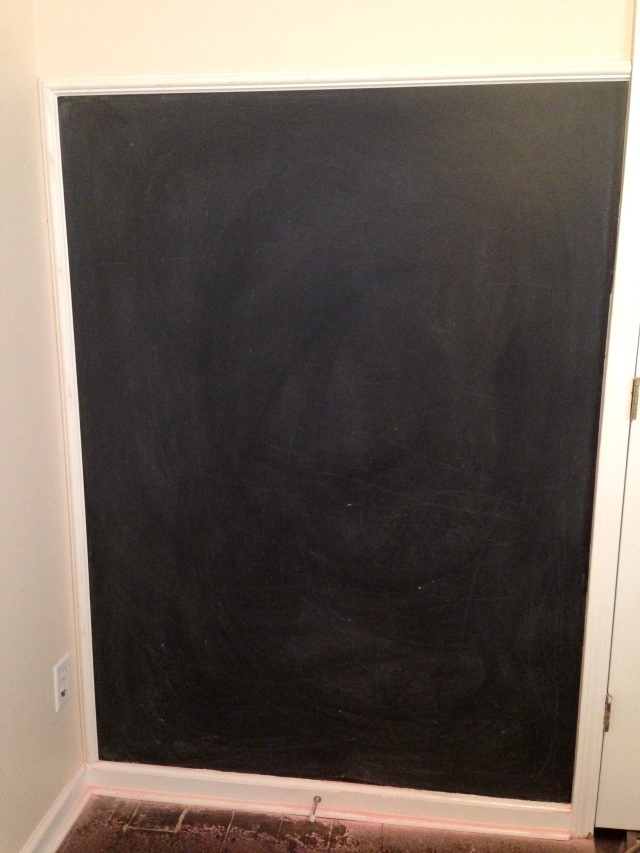 I don’t know what I should draw first. Oh, such a hard decision!